
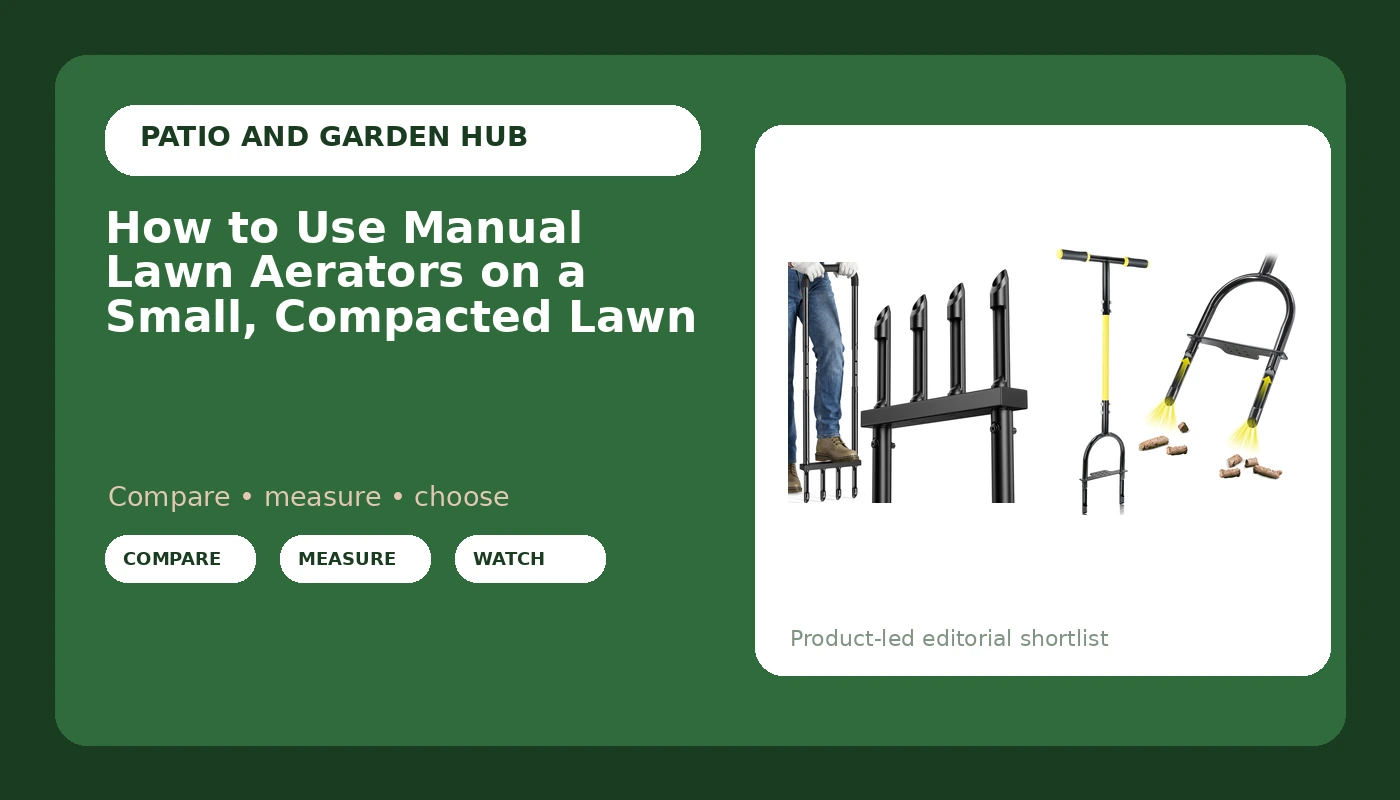
Most lawns do not need a machine. They need two hollow tines, a foot bar, and forty minutes on a Saturday morning. If your lot is a quarter acre or smaller, or the problem is one worn strip where the dog runs the same line every day, learning how to use manual lawn aerators is cheaper, quieter, and easier on the turf than renting a plugger and dragging it through a gate that is barely wide enough.
I have been aerating my own ground since 2014, first a thin half acre of tall fescue over clay, then a smaller city lot where every square foot has to earn its place next to the patio. The rental machine was faster. It also rutted the wet corner by the downspout, scalped two turns, and ate a Saturday I could have spent doing something else. The hand tool stayed.
Here is the honest framing: a manual aerator does not replace a machine on a big lawn. It is the right tool on a small one, on a single bad patch, and on ground that slopes or narrows where a plugger cannot turn. What follows is how to choose between the two designs worth owning, the eight-step routine that gets clean plugs out of the ground, and the calendar that makes any of it matter. If you want the rest of the season mapped out, the fall lawn care checklist picks up where this leaves off.
Why you should trust me
Twelve years of doing this the hard way, and a stubborn refusal to rent the same machine twice. My first lawn was 4,000 square feet of thin tall fescue over builder's clay, and I aerated it by hand for three straight autumns because one rental afternoon convinced me the machine was the wrong answer for a yard that size with a fence and a shed in the way.
What I know is the part the listings skip: how wet the ground has to be, why the order of the passes matters more than the brand on the handle, and why most people quit at the twenty-minute mark with a half-finished lawn behind them. I am not going to tell you a hand tool is faster than a walk-behind plugger. I am going to tell you exactly when it is the right call and how to run it so you finish the job.
How I picked and how I tested
I read listings the way I read a seed tag, for what is not said. Tine type comes first. Hollow tines pull a plug of soil out of the ground, and removing that plug is what actually relieves compaction. Spike tools push a hole and compress the walls around it, which is why the lawn looks aerated for a week and then closes back up. If a tool does not pull cores, it is not in this article.
Second, the shaft. Treat the height range as a manual lawn aerators size guide: you want the handle to land between your hip and your lower ribs when the tines are in the soil, so you drive the tool with your body weight instead of folding over at the waist. A fixed shaft is stiffer. An adjustable one fits more people, and one of the two picks here is adjustable for exactly that reason.
Third, the foot bar. This is where cheap tools fail. You drive a hollow tine by standing on the bar, so the bar has to be wide enough for both boots and stiff enough not to bow. A narrow bar turns a straight push into a balancing act. Read a stack of manual lawn aerators reviews and the complaints are rarely about the tines; they are about flexing bars, handles that spin in the socket, and plugs that will not let go of the barrel.
On testing: I do not have a bench for these tools, so I will not pretend otherwise. What I can tell you is what a first pass across your own lawn reveals in twenty minutes, and it is the same four checks I would run. Are the tines replaceable or welded in. Does the plug drop free when you lift, or does it need a finger. Does the handle rock in its collar. Does the shaft height leave your shoulders down where they belong. That tells you more than a manual lawn aerators buying guide full of studio photos.
The list is short on purpose. Most of what lands on a roundup of top rated manual lawn aerators is either a strap-on spike sandal or a single fork with a pretty handle, and neither gets a plug out of the ground. Two tools, two roles, both easy to hang on a garage hook.
How to use manual lawn aerators: the two tools I would hand a beginner
This is how to choose manual lawn aerators in one line: hollow tines or nothing, fixed shaft for leverage, adjustable shaft for fit. Both of the tools below pull plugs, which is the entire reason to use manual lawn aerators instead of a spike tool, and both store on a wall hook between sessions.
Budget pick: Knee-Friendly Manual Lawn Aerator, Adjustable 43.3-48.5",Black, Square Tube
Budget pick
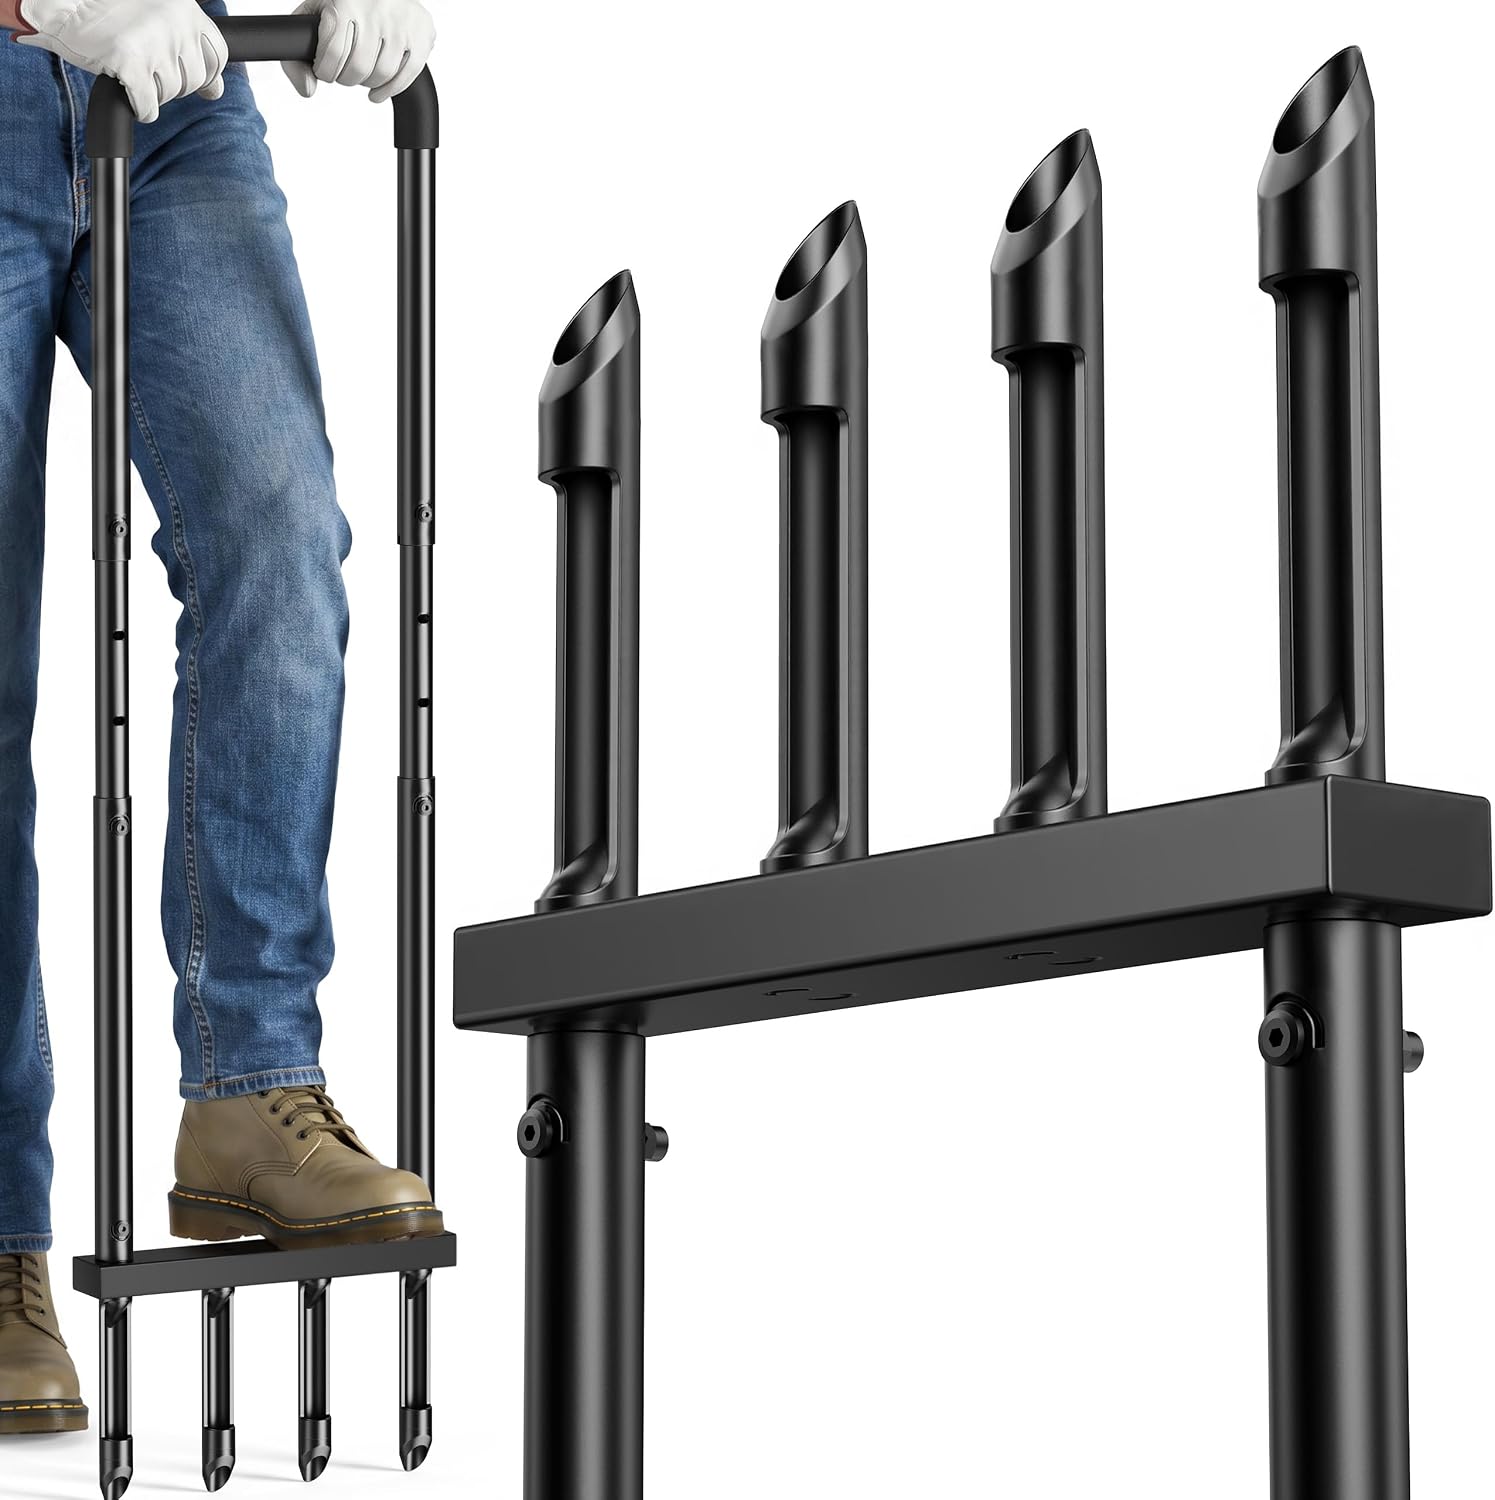
Knee-Friendly Manual Lawn Aerator, Adjustable 43.3-48.5",Black, Square Tube
The adjustable shaft is the reason this one is on the list. The range runs from roughly 43 inches to 48 and a half, which covers the difference between a shorter gardener and a taller one sharing the same tool, and it lets you set the handle at hip height instead of adapting your posture to whatever the factory welded on. For manual lawn aerators for beginners, that adjustability is often the difference between finishing the lawn and feeling it in your lower back for two days.
The square tube is a small detail that matters more than it sounds. A square shaft cannot rotate inside its collar the way a round one can, so the handle stays oriented where you set it and the whole tool feels less like a mop.
What to watch: any adjustable shaft is a joint, and joints flex. On heavy clay, with both boots on the bar, a one-piece shaft will feel more solid underfoot. The knee-friendly part of the name is worth verifying on your first pass, since it usually means you can release the plug without kneeling. Check current Amazon price.
Flaws but not dealbreakers: The two-piece construction means one more thing to keep tight. Check the collar before each session and it will not surprise you mid-strip.
This is the pick for a renter, a small lot, or a household where two people of different heights share one tool.
Our pick: Jardineer Manual Core Aerator Lawn Tool with 2 Hollow Tines, 38" Sharp Grass Aerator for Compacted Soil & Yard Care, Heavy Duty Garden Aerating Tool with Anti-Slip Foot Bar & T-Handle for Lawn Health
Our pick
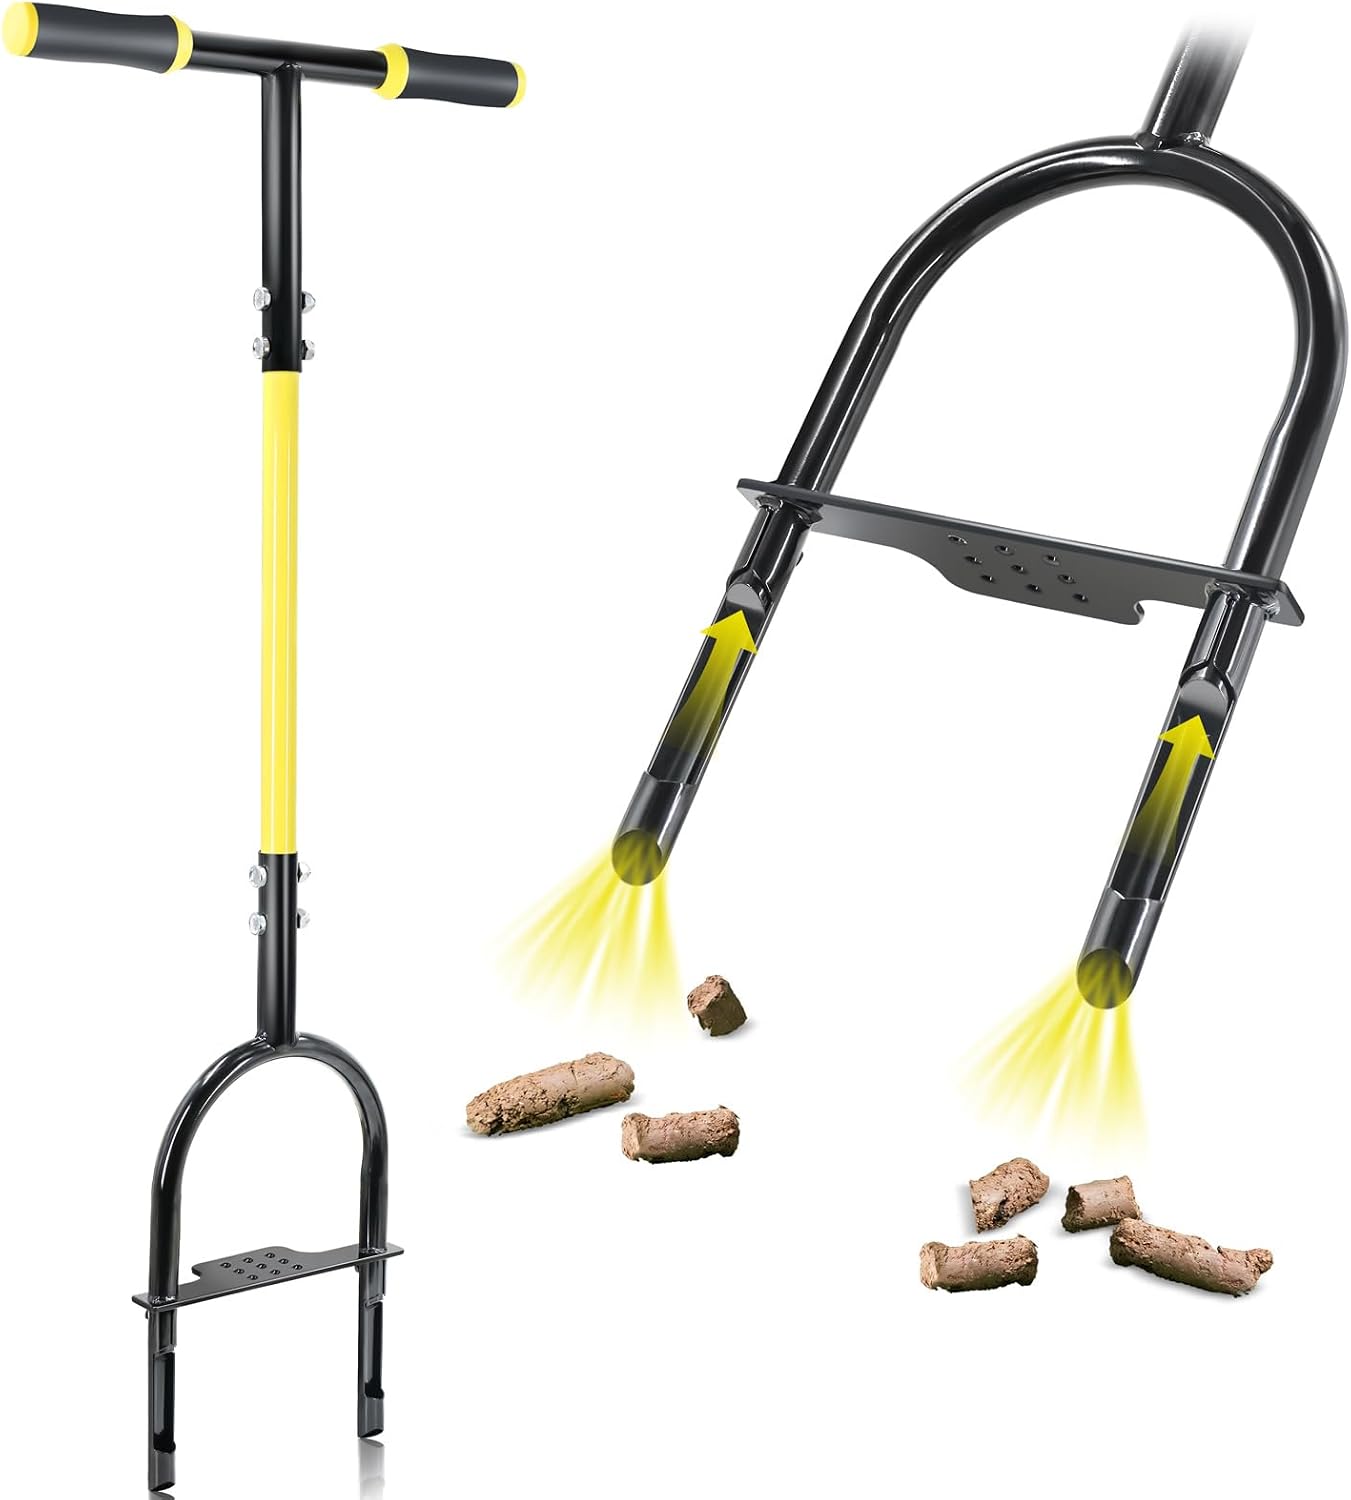
Jardineer Manual Core Aerator Lawn Tool with 2 Hollow Tines, 38" Sharp Grass Aerator for Compacted Soil & Yard Care, Heavy Duty Garden Aerating Tool with Anti-Slip Foot Bar & T-Handle for Lawn Health
Two hollow tines on a fixed 38-inch shaft, a T-handle you can get both palms onto, and an anti-slip foot bar. That combination is the shape of a tool built for compacted ground: you stand on the bar, the tines go in, and the T-handle gives you a straight pull instead of a grip you have to squeeze.
Two tines instead of one is the real argument. A single tine doubles the force per hole and multiplies the number of stomps; a pair gives you two plugs per press at a spacing that is already close to right. It also keeps the tool balanced when you lift, which matters at the end of a session when your form goes sloppy.
The fixed shaft is the trade-off. Thirty-eight inches is a sensible default and it will land near hip height for a lot of adults, but you cannot tune it to your own frame the way you can with the adjustable tool above. If you are tall, or if you plan to share the tool with a teenager, the adjustable design is the better fit.
The sharp tines and the heavy-duty build are aimed at the yards that need this most: the path by the gate, the strip between the driveway and the fence, the patch under the swing set where nothing drains. Check current Amazon price.
Flaws but not dealbreakers: Hollow tines clog. Clay, wet thatch, and root mat all pack into the barrel, and a clogged tine stops pulling plugs without telling you. Clear them with a dowel every few strips.
Buy this one if you want maximum leverage per press and you are the only one using it. It is also the better pick for a lawn that has gone genuinely hard, since the foot bar and the T-handle let you put your whole weight behind the tines.
The actual aeration workflow
Now the part you came for. To use manual lawn aerators well you need moist ground, a pattern, and the discipline to stop before your form falls apart. No machine, no attachment, no subscription.
Step one: Pick the window, not the weekend. This is where manual lawn aerators seasonal care lives or dies. For cool-season grass such as tall fescue, Kentucky bluegrass, and perennial rye, the window is early autumn, when the lawn is recovering from summer and the soil is still warm. A light spring pass is fine if the ground is workable. For warm-season grass such as Bermuda, zoysia, and St. Augustine, aim for late spring or early summer once it is fully green and running. Aerating dormant grass in July is just making holes in dirt.
Step two: Water two days out. Soil should be moist enough that a tine slides in and comes out with a plug, not so wet that it smears. Water deeply two days before, then check with a screwdriver: if it pushes in under thumb pressure, you are ready. If it takes body weight, water again and wait a day. If the tine comes up with mud soup, wait two more days. This single step decides whether the job takes forty minutes or two hours.
Step three: Mow low, flag everything, and plan the pattern. Cut the lawn a notch shorter than usual so the tines are not fighting through a canopy. Flag sprinkler heads and shallow irrigation lines, mark the gas line if you have one, and note the dog's favorite route so you can give it a second pass. Decide now that you are going in strips, because wandering is how a lawn ends up with a checkerboard of skipped spots.
Step four: Set up the tool and your body. With the adjustable tool, set the shaft so the handle sits between hip and lower ribs, then tighten the collar. Gloves help with a T-handle. Boots with a defined heel give you something to press with on the foot bar, and a knee pad is worth having if your tool's release method puts you on the ground. Do not skip this step; a shaft that is two inches too long will wreck your back by the third strip.
Step five: Learn the press. Set the tines where you want them, stand with your weight on the foot bar, and rock from heel to toe until the barrels seat. Then lift straight up. If the plug hangs on, twist the handle a quarter turn and lift again. Never lever the handle sideways to break a plug loose, because that is how tines bend and how the collar on an adjustable shaft gets sloppy.
Step six: Keep the spacing honest and work in strips. Aim for a hand's width between holes, working across the lawn in straight runs, then run a second pass perpendicular to the first. Two passes at right angles cover the ground without turning your lawn into a minefield of overlapping holes. Empty the tines every few strips. Stop at twenty minutes if you are new to this, have a drink, and come back.
Step seven: Decide what happens to the plugs. The lazy answer is the right one most of the time: leave them. They break down in a couple of weeks, they feed the soil, and they hold a little moisture. If the look bothers you, let them dry for a day or two and then mow them. Rake them into the canopy if you have bare spots to cover, and only haul them away if you are topdressing or doing a full renovation.
Step eight: Feed and seed after, not before. Aerating opens the soil, so the two days after are the best window you will get all year for overseeding and a thin topdressing. Water lightly for a week, stay off the lawn while seedlings come up, and hold the fertilizer until the plugs have broken down. Clean the tines with a wire brush and a rag with oil before you hang the tool up, because clay left in a barrel sets like concrete.
The competition and why it lost
Spike shoes and sandals lose because they compress instead of remove. They are cheap, they are fast, and they do about as much for compaction as walking across the lawn in golf cleats. If your soil is soft and your only goal is to open the surface before overseeding, they are fine. If you have clay, they are theater.
Single-tine forks and weed pullers lose on time. One tine means one hole per press, and the spacing is wrong even if you are diligent. They are useful for spot work around a tree or a downspout, but they are not a lawn tool.
Tow-behind pluggers and walk-behind machines lose on logistics for the small lot. They need a gate width you may not have, a turning radius your beds may not allow, and a rental fee per day that exceeds what a hand tool costs to own. On a half acre with no obstacles, rent the machine. On a quarter acre with a fence, a shed, and a slope, the hand tool wins.
And the strap-on sandals with the hollow points, the ones that show up in every manual lawn aerators reviews section as a budget hero, lose because body weight alone is not enough to push a barrel deep enough to matter, and because whatever holes they do make close up within a week.
What this all costs
For manual lawn aerators for small lawns, the purchase is the smallest number in the whole exercise, which is why I am not going to quote one: open either listing and check current Amazon price. What matters is what the job saves you. A rental plugger, a trailer, and a Saturday cost more in most markets than either hand tool costs to own, and the hand tool is still in your garage next autumn.
The real budget is the aftercare:
- Seed for overseeding thin areas, priced by the pound and by grass type.
- A thin topdressing, if you go that route, which is optional on most lawns.
- Water, the only line item that reliably shows up on the bill every year.
- A wire brush and an oily rag, because tine maintenance is the difference between a tool that lasts five seasons and one that lasts one.
Do the math on cost per season instead of cost per unit. A hand tool used twice a year for five years is a rounding error, and it takes up about four inches of wall space. The machine that does the same job in an hour costs more per day than the tool costs to own, and it still leaves you with the same plugs to deal with.
That is the whole job: pick the window, get the ground right, keep the spacing honest, and clean the tool before you put it away. Two hollow tines and a Saturday morning will do more for a tired lawn than another bag of fertilizer. Check current Amazon price on whichever one fits your frame, and start with the worst patch instead of the whole lawn. When that patch has recovered, the spring lawn care checklist covers what comes next.